* This article is from our Tip of the Day newsletter. Sign Up. *
This article will tell you how to draw perfect shapes on your iPhone and iPad. Whether you just like to doodle or are looking to mark up your photos, you might be interested in how to draw shapes on your iPhone perfectly. Maybe you want to add a heart to a photo of you and your family but don't like the way yours look, or you're trying to create a geometric pattern in your notes app, or want to teach a child about shapes and how they're made. Whatever your reason, learning the trick to draw shapes on your iPhone or iPad perfectly can save you from downloading third-party sticker or design apps. Perfect shapes make for easy drawing on your iPad and iPhone, so let's get started!
Related: How to Resume a Note or Create a New Note from the iPhone Lock Screen

How to Draw Perfect Shapes on Your iPhone & iPad
This can be done in either the Photos app or the Notes app and anywhere else that you can use the Markup tool. For the purpose of this tutorial I'll be using the Photos app, but if you want to draw in the Notes app, just open the note you want to draw in or create a new one, then hit the Markup symbol (the same as the one in the Photos app, shown below). From there, the steps are the same as in the Photos app. For more tips on what you can do with your photos and notes, check out our Tip of the Day.
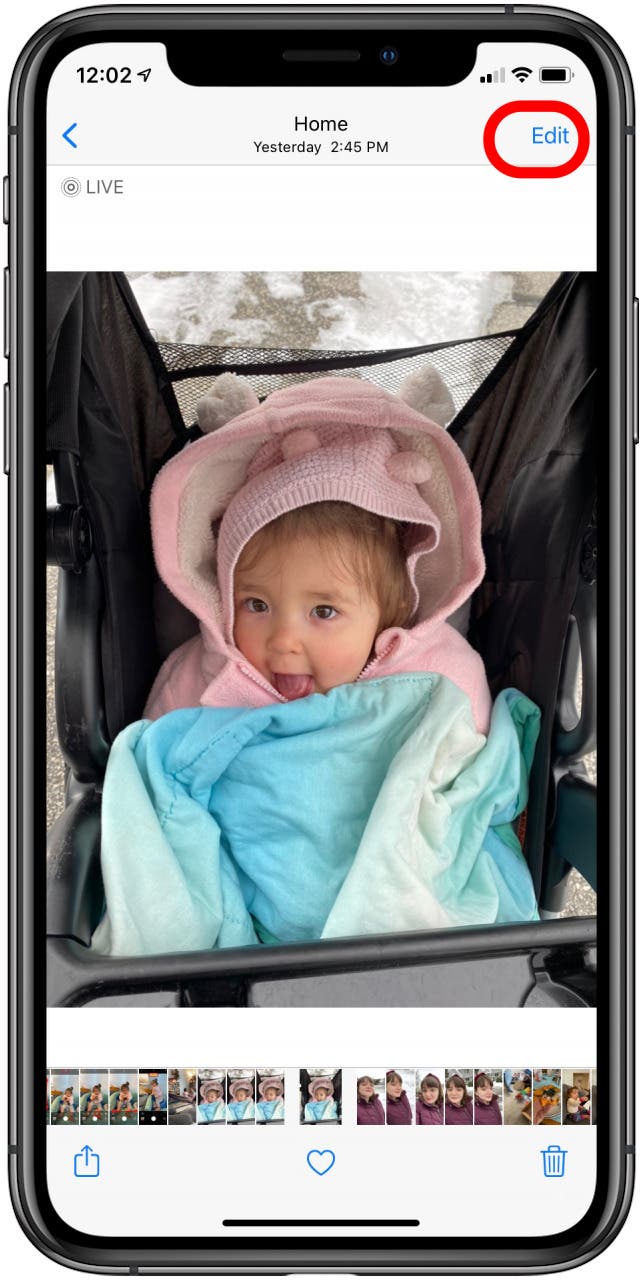
- Open your Photos app.
- Tap the photo you want to draw a shape on.
- Tap Edit.
![]()
![]()
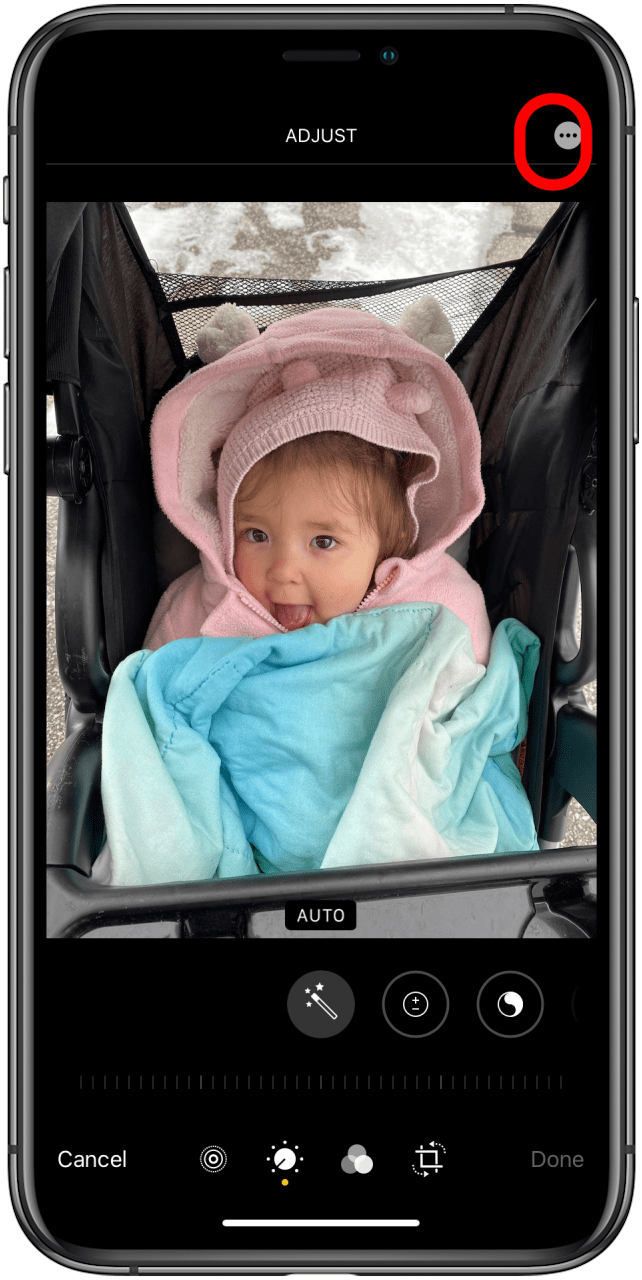
- Tap the ellipses on the top right of the screen.
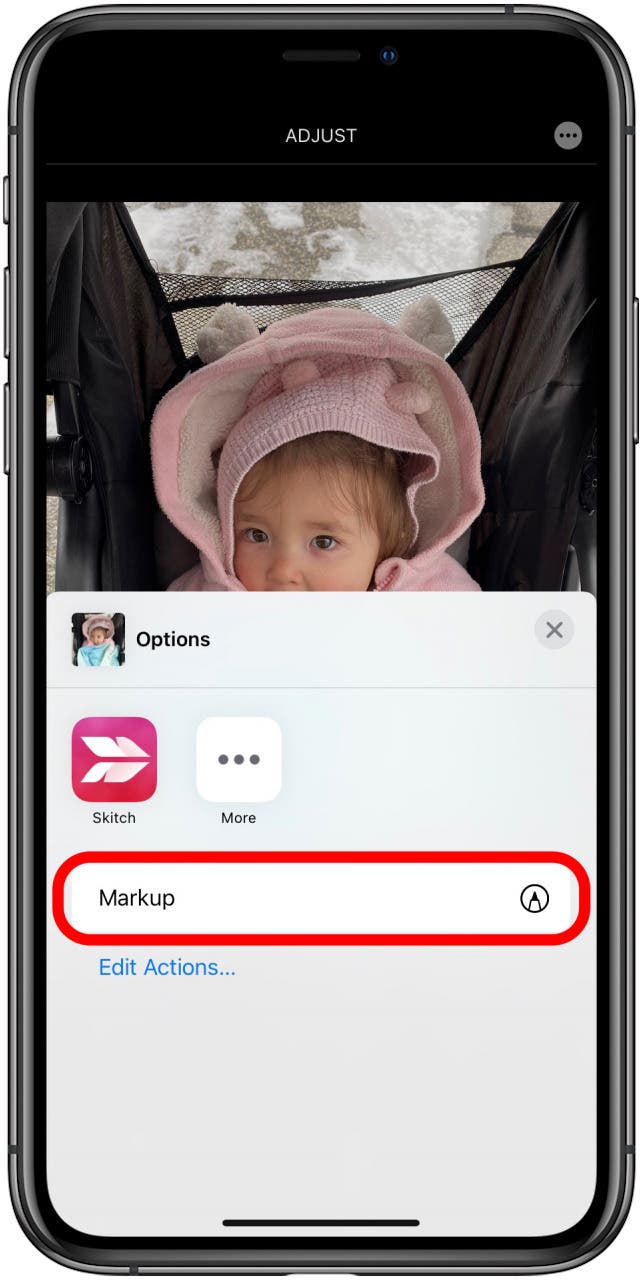
- Tap Markup.
![]()
![]()
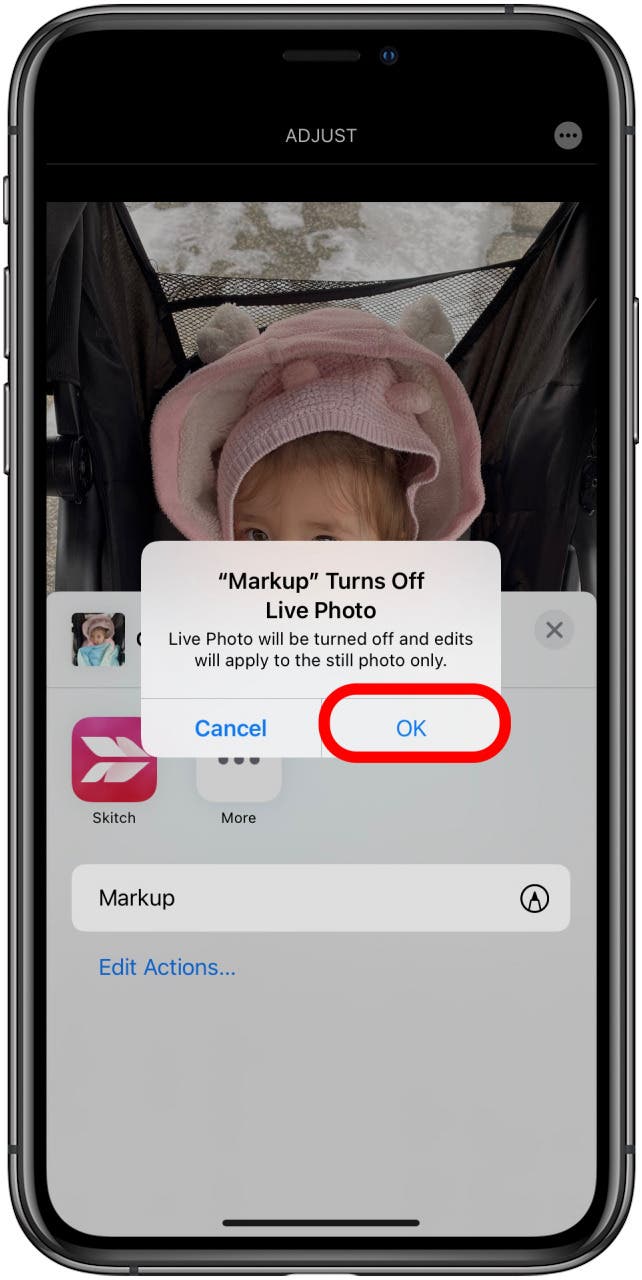
- If it's a Live Photo, you'll get a notification that the Live Photo function will be turned off for that photo and you will only be marking up the still version. Tap OK to continue.
- Select your drawing tool, line thickness, and ink color.
![]()
![]()
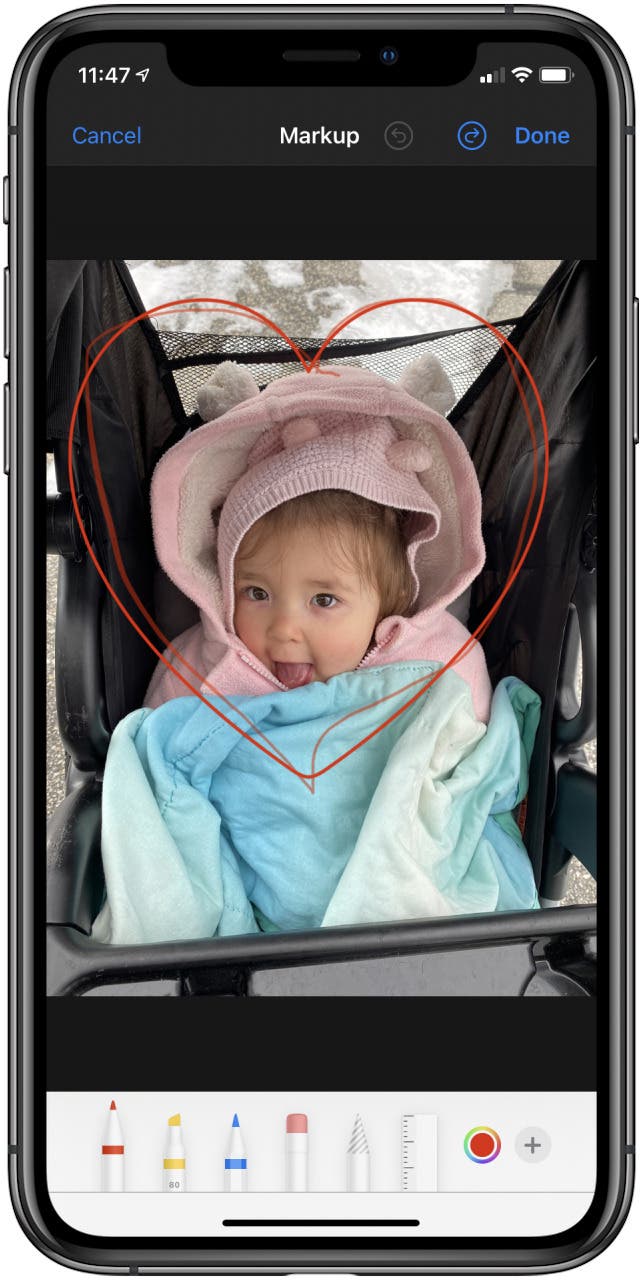
- Draw the shape on your screen. Once you've finished it, hold your finger or stylus on the screen, and a perfect version of the shape will appear over your version. Release if you are satisfied.
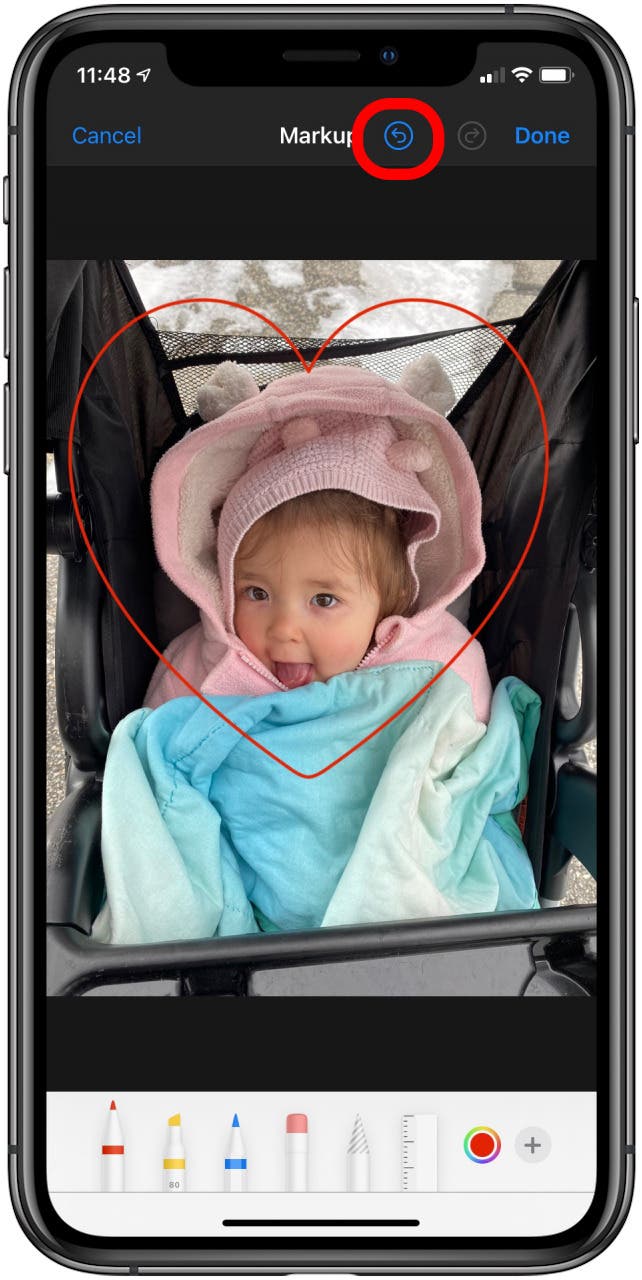
- To revert to your version of the shape, tap the undo icon on the top of your screen.
![]()
![]()
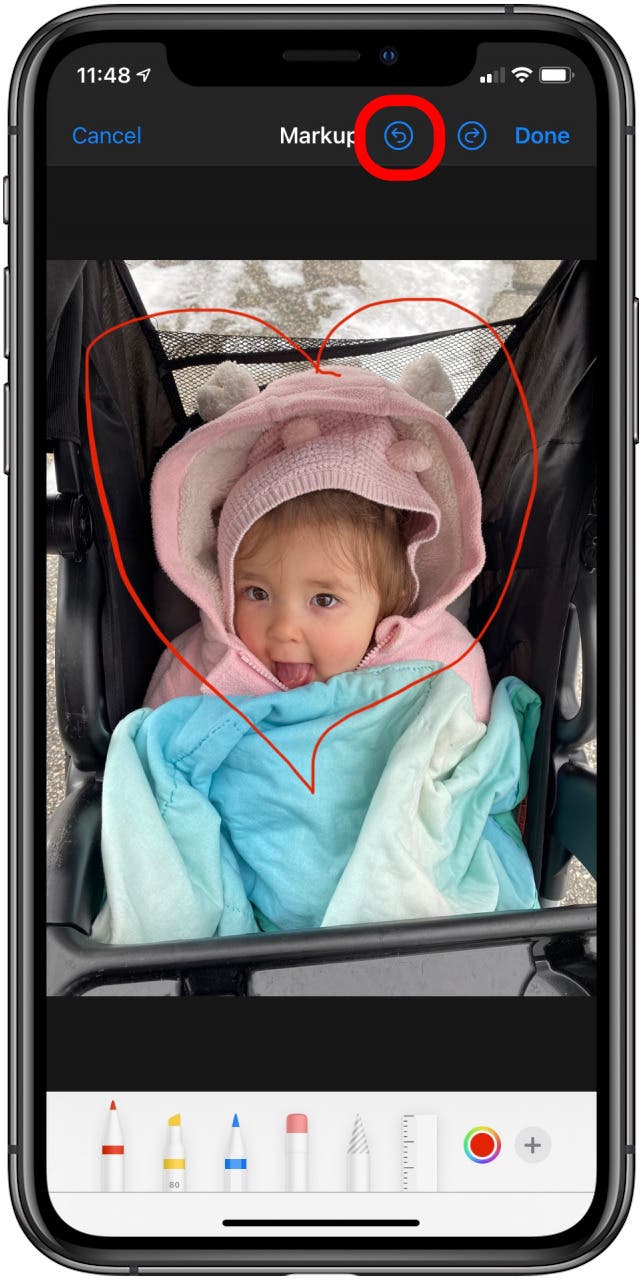
- To remove the shape entirely, hit the undo icon a second time.
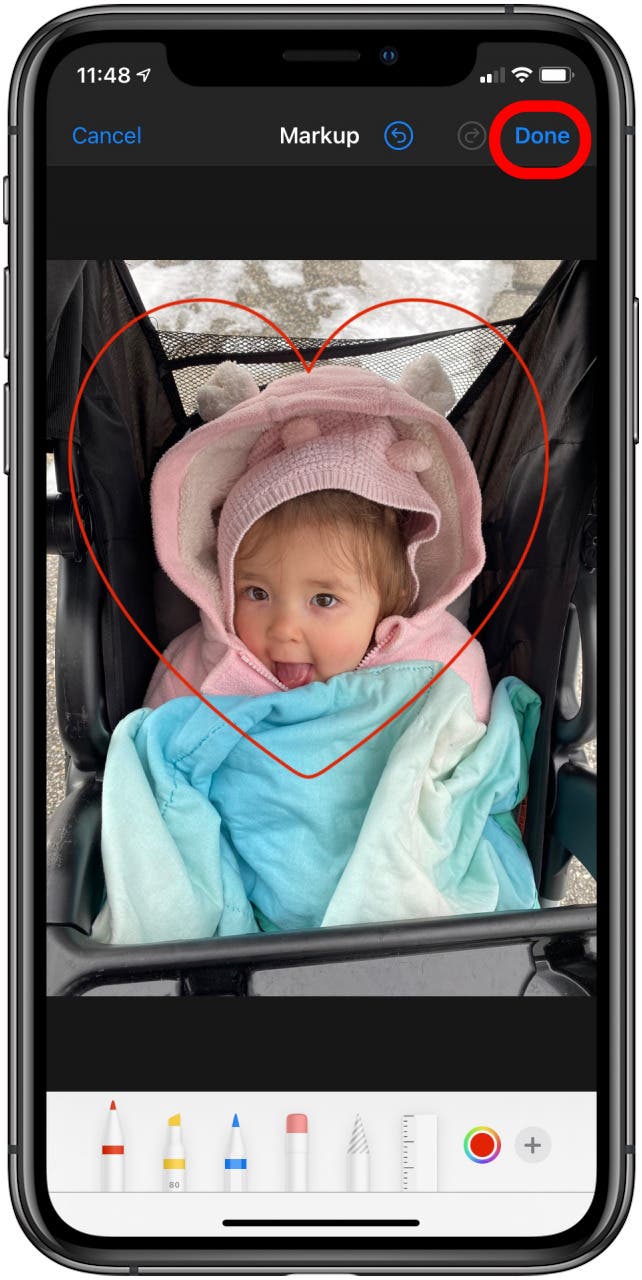
- When you are satisfied, tap Done.
![]()
![]()