This article covers all the new features in Photos and Camera apps in iOS 14 including how to add captions to photos, how to filter photos, the best way to organize photos, how to create a memory or make a slideshow from an album, how to save mirror selfies to your camera roll, and how to take burst photos on the iPhone using the volume controls. Some of the most exciting new features introduced with iOS 14 are in the Apple Photos and Camera apps. Let's take a look at what's new and how best to utilize these features.
Related: What is HDR & How to Use it on Your iPhone Camera
What's in This Article
- How to Add Captions to Photos
- How to Filter Pictures
- How to Sort Albums
- View Thumbnails in Regular Format
- How to Create Slideshows & Memories from Albums
- How to Save Mirror Selfies
- How to Take Burst Photos on iPhone Using Volume Controls
How to Add Captions to Photos
I frequently find myself snapping photos and wishing that I could include details about the moment I captured. Why? Well, maybe I want to include important notes relevant to the memory captured in time, or perhaps I took a vague photo and need more information about why it was captured. That’s where captions come in. You can add a caption on your iPhone to any image, and best of all, your captions are searchable. To add a caption to a photo:

- Open the Photos app.
- Select any image you like.
![tap the Photos app]()
![select the picture you want to caption]()
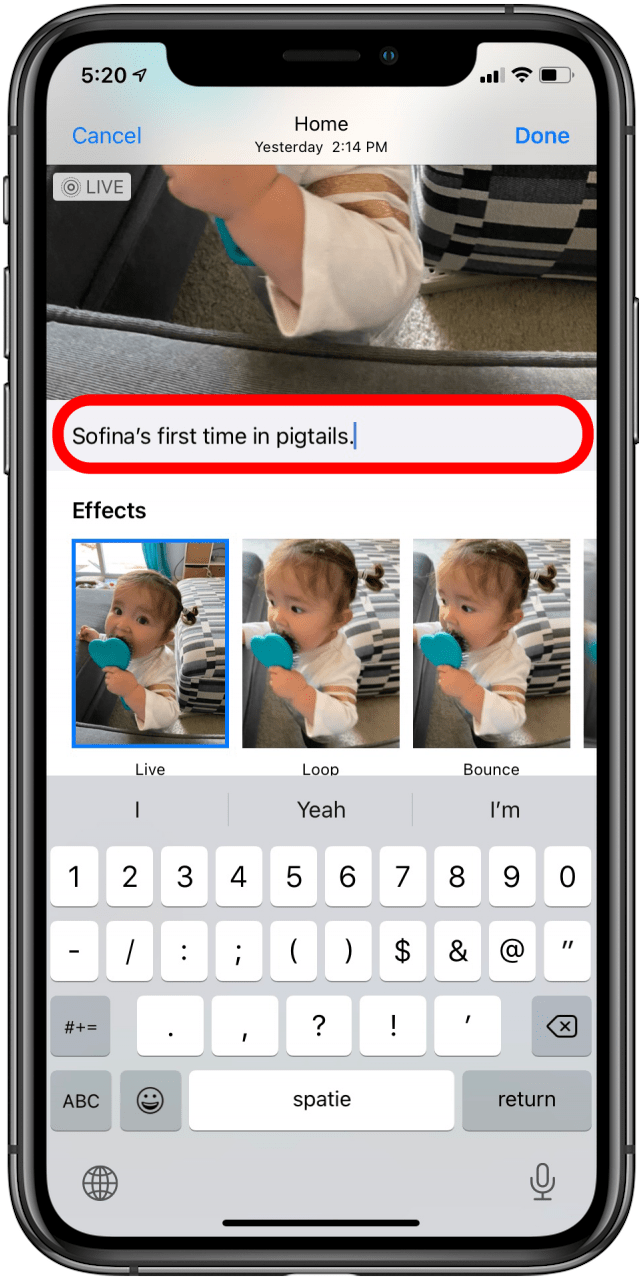
- Swipe up on it to access the captions field.
- Tap Add a Caption.
![swipe up on the photo]()
![Tap Add a Caption]()
- Enter the information you want.
- Tap Done.
![Enter your caption]()
![Tap Done]()


If this is a little advanced for you, go back to the basics and learn how to take photos using the Camera app on your iPhone.
How to Filter Pictures
If you want to filter your pictures on your iPhone, you can now do that by several different categories. When in the All Photos view (or the Recents album under Albums), you can filter your images by Favorites, Edited, Photos, and Videos. To do this:
- Navigate to Photos.
- Go to All Photos (or Recents).
![tap the Photos app]()
![]()
- Then tap the ellipsis icon in the top right corner.
- Choose Filter and a list of options will appear.
![]()
![]()
- Choose how you would like to filter your images.
- Tap Done.
![]()
![]()


How to Sort Albums
So, you learned how to organize your photos on your iPhone by filtering images from All Photos, but what about from specific albums? Yup, you can do that too! This is one of the best ways to organize photos on your iPhone, because it can be done within any album and you can choose the specification.
- Navigate to the Albums tab and select the album of your choice.
- Tap the ellipsis icon and select Sort.
- Select either Custom Order, Oldest to Newest, or Newest to Oldest.
![]()
![]()


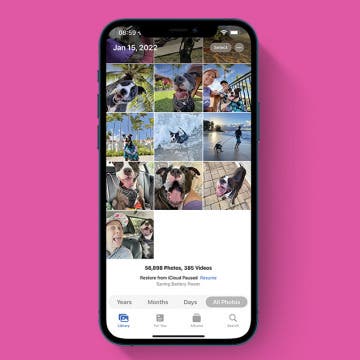
View Thumbnails in Regular Format
You are probably accustomed to viewing your images as a collection of neat squares when opening an album or your All Photos tab. But you can view your images in their original aspect ratio too! Although the square format is certainly tidier, there may be reasons that you want to view your images as they were originally shot.
- Open an album or go to the Photos tab, then tap the ellipsis icon.
- Select Aspect Ratio Grid.
![]()
![]()
- Now you can view your images as they were shot.
![]()


How to Create Slideshows & Memories from Albums
If you want to learn how to create a memory with pictures on your iPhone, you'll be glad to know you can now curate one yourself. Previously, you could only make a slideshow or create a Memory from the For You tab. With iOS 14, you can create either from a specific album, which makes much more sense.
- Open an album.
- Select the ellipsis icon.
![]()
![]()
- Select Play Memory Movie if you would like to create a movie. If you select Play Memory Movie, you’ll see the same options and controls you’re familiar with when creating a movie.
- Select Slideshow if you would like to view a slideshow of your images.
![]()
![]()


How to Save Mirror Selfies
You’ve probably noticed that when you take a selfie, the saved image is a flipped version from what you saw in your camera preview. I don’t know about you, but this always throws me off a bit. You could learn how to flip a photo or you can take a mirror selfie and have it save without being flipped:
- Go to Settings.
- Tap Camera.
- Under the Composition section, toggle Mirror Front Camera on.
![]()
![]()


How to Take Burst Photos on iPhone Using Volume Controls
Before Apple’s iOS update, pressing down either volume button started a video. But if you have iOS 14 or later you, then pressing down the volume up button takes Burst images and pressing the volume down button starts a video. However, you’ll need to set your iPhone's Burst mode option first.
- Go to Settings.
- Tap Camera.
- Toggle on Use Volume for Burst.
![]()

This provides a much easier way to capture videos or a series of photos.