The front camera on iPhone X is capable of a lot of incredible things, including improving your selfie game with front-facing Portrait Mode and Portrait Lighting. You're likely familiar with how to take a selfie on iPhone, but Selfie Portrait Mode and Lighting makes taking good selfies super easy. With the Portrait Lighting, you can change the lighting before ever taking a photo. You have various lighting options to choose from, depending on the effect you want and your location. And the background of the photos are blurred for that professional Bokeh look. For iPhone X users, front-facing Portrait Mode and Lighting is essential to learn for taking great selfies. You can use this Portrait Lighting when taking regular photos (not selfies) on iPhone X and iPhone 8, and you can use Portrait Mode on those devices as well as the iPhone 7 Plus. But Selfie Portrait Mode and Lightning is reserved to the iPhone X for now. Here’s how to use Selfie Portrait Mode & Portrait Lighting on iPhone X.
Related: iPhone X: How to Find Notification Center & The Hidden Privacy Feature You’ll Love
The front camera on iPhone X is packed with technology. The iPhone’s selfie camera has long been beloved, but the addition of front-facing Portrait Mode and Lighting allows anyone to take professional looking selfies. If you’ve been trying to learn how to take a good selfies with your iPhone, this will make that a sinch.

How to Use Selfie Portrait Mode & Portrait Lighting on iPhone X
- Swipe down from the top right of your iPhone X screen to open Control Center; tap the Camera icon to open your Camera app.
- In the lower right corner, tap the camera icon with a curved arrow to switch from the back camera to the front camera. Now you’re in selfie mode.
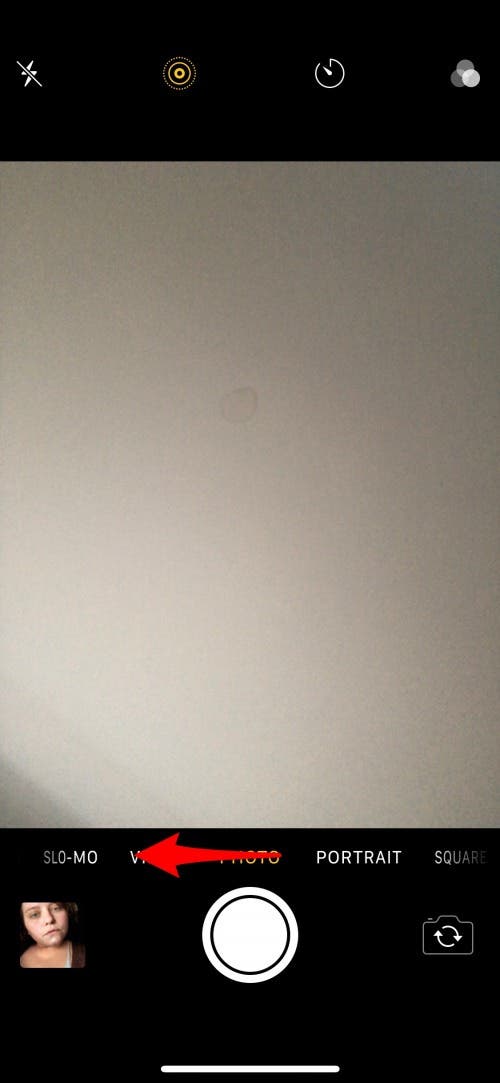
- Near the bottom, you’ll see Photo in yellow. There will also be words on either side, including Slo-Mo, Video, Portrait, etc. Swipe left on Photo to select Portrait. You’re now in Portrait Mode.
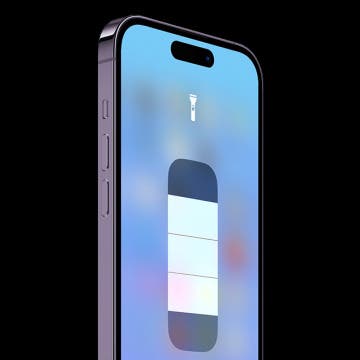
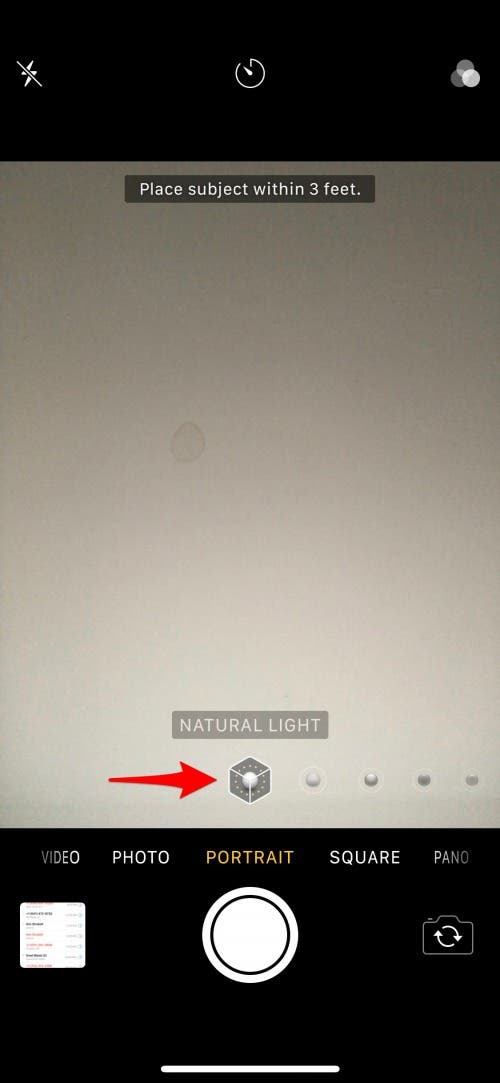
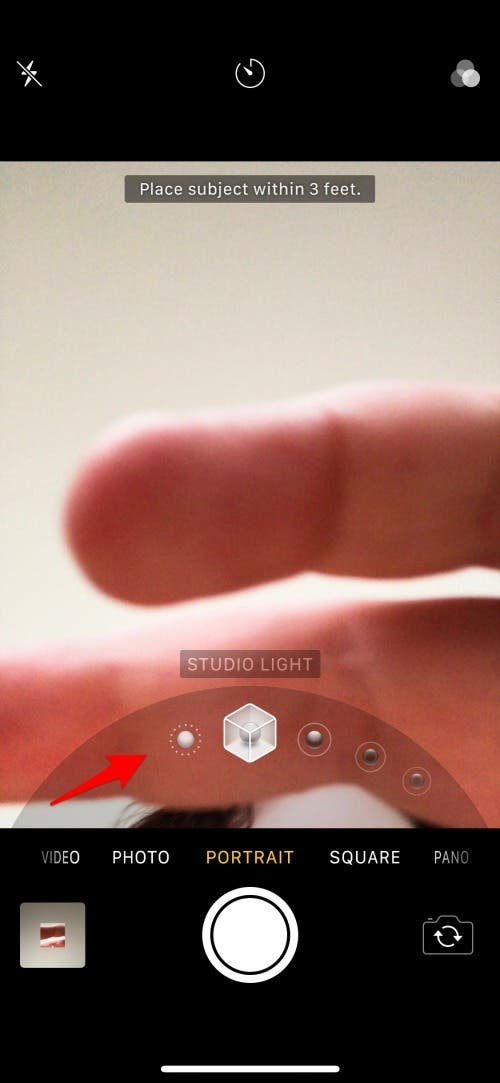
- Automatically, you’ll see the words Natural Light and below it a cube with a circle at its center. This is Portrait Lighting. Tap on the cube to pop it out and see the other options that trail behind it.
- Once you select the Portrait Lighting you want to use, position your face in the frame.
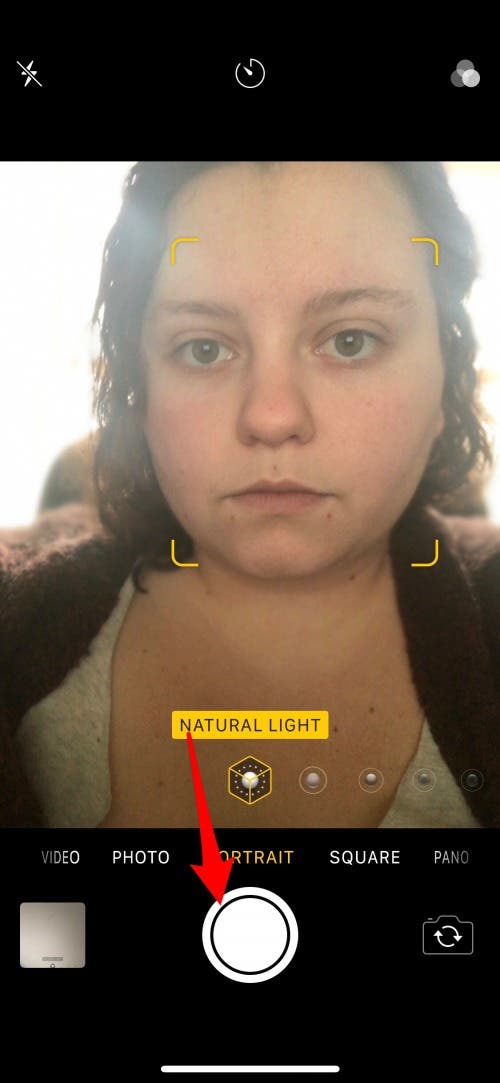
- The words labeling which Portrait Lighting you’re using will be highlighted yellow when the subject (you) is the correct distance from the camera.
- Tap the large white shutter button to take the photo.
Some of the Portrait Lighting modes look better or worse depending on the surrounding light. Generally, the first three will look okay no matter what. The last two appear to work best with direct interior lighting, as opposed to natural lighting like that from a window (although I have gotten some good shots this way too). We’ll go over each of the Portrait Lighting modes below.
Portrait Lighting Modes Breakdown
All of the lighting effects below work in addition to the traditional Portrait Mode feature, meaning regardless of the lighting, the background will have the Bokeh blurred effect. However, the lighting makes a huge difference in the overall appearance of each photo. I’ll cover each in more detail below.
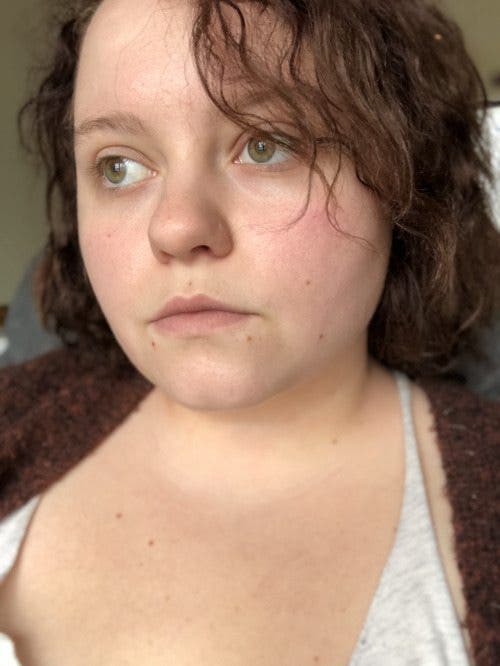
Natural Lighting
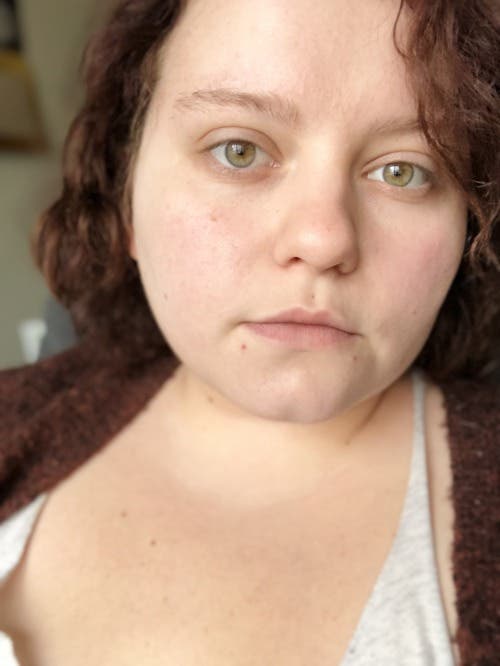
This one is the most subtle change; it simply softens the light on your face, giving you a lightly airbrushed look.
Studio Lighting
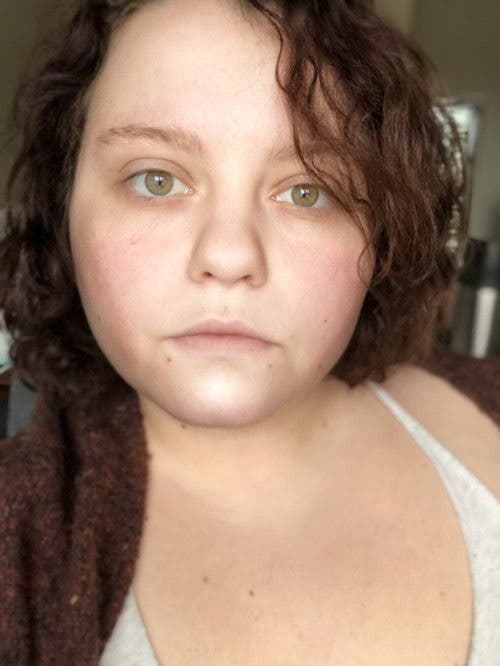
This is my personal favorite. It makes your skin glow and look nearly flawless without changing much beyond that. If you’ve ever literally been in a studio with those incredibly bright diffused lights that make you look gorgeous, this is that effect without all of the equipment.
Contour Lighting
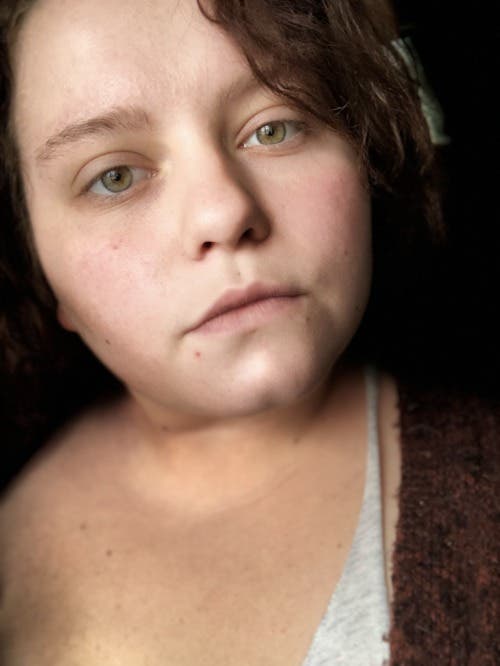
Contour your face without makeup using this effect. I think this will work better for tan to dark skin tones than on my pasty white self. This effect creates shadows and highlights on the face; the result is supposed to be a thinner, tight face. For me, I generally look like I have some dirt on my cheeks. But the concept is fantastic and hopefully will improve.
Stage Light
This effect fades the background to black and gives your face a soft glow. When it works, it looks pretty great—as though you took the shot with a black background. But when it doesn’t work, you end up with bits of hair and light showing through in awkward ways. I got my best shot with this feature at night in my bathroom, believe it or not. The horrible lighting of my bathroom was perfect for shining direct light on my face, making it easier for the effect to figure out where to fade to black and where to filter for beauty. This effect is awesome when it works as it’s designed to, which is about fifty percent of time. (*In the image below, you can see what I mean by bits of hair and light awkwardly showing through in the top right.)
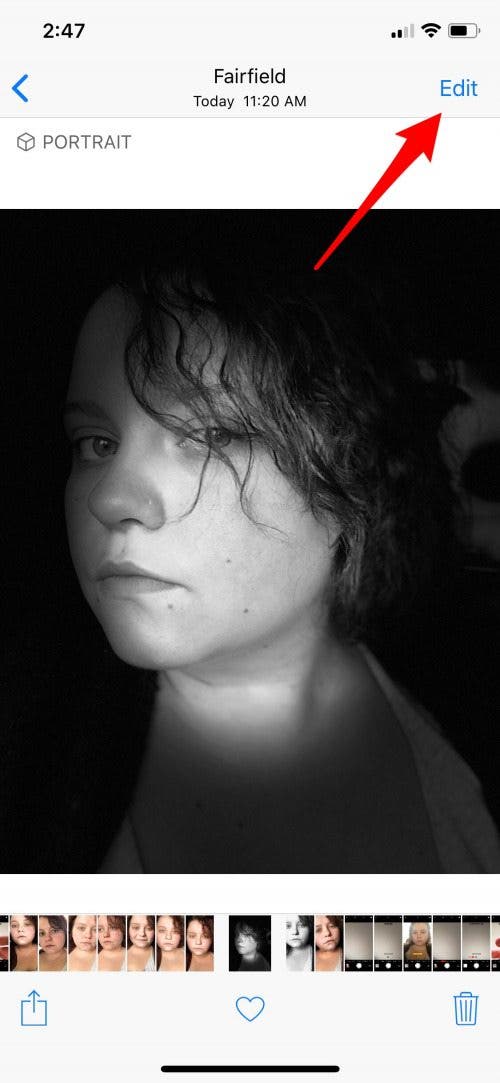
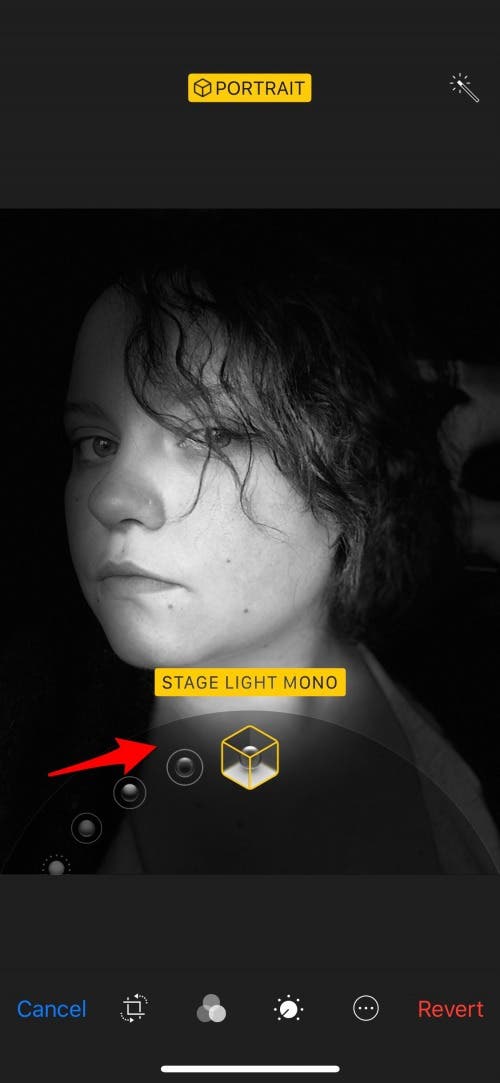
Stage Light Mono
This is one nearly identical to Stage Light, except the photo is also made black and white. I’m also able to get this to work far more often than Stage Light. Again, when it works, it looks really stunning. And when it doesn’t, you can clearly tell what went wrong. Overall, the black and white photo with a vacant background creates a really professional looking selfie.

How to Change the Portrait Lighting After You’ve Taken the Photo on iPhone X
If you get a shot that you really like but you don’t care for the Portrait Lighting Mode that you took it in, you can choose a different lighting effect after you’ve taken the photo. Here’s how to change the Portrait Lighting after you’ve taken the photo.
- Open the photos app.
- Find the Portrait Mode photo that you want to alter the lighting effect for.
- Tap Edit at the bottom of the screen.
- At the bottom of the photo in Edit mode, you’ll see the same familiar cubes with circles at their center.
- Tap and swipe to choose a different Portrait Lighting until you find one you like.
- Tap Done to save the changes.